
How To Delete Rows in a Zoho People Tabular Section (Subform) with the API
Published on September 9, 2026
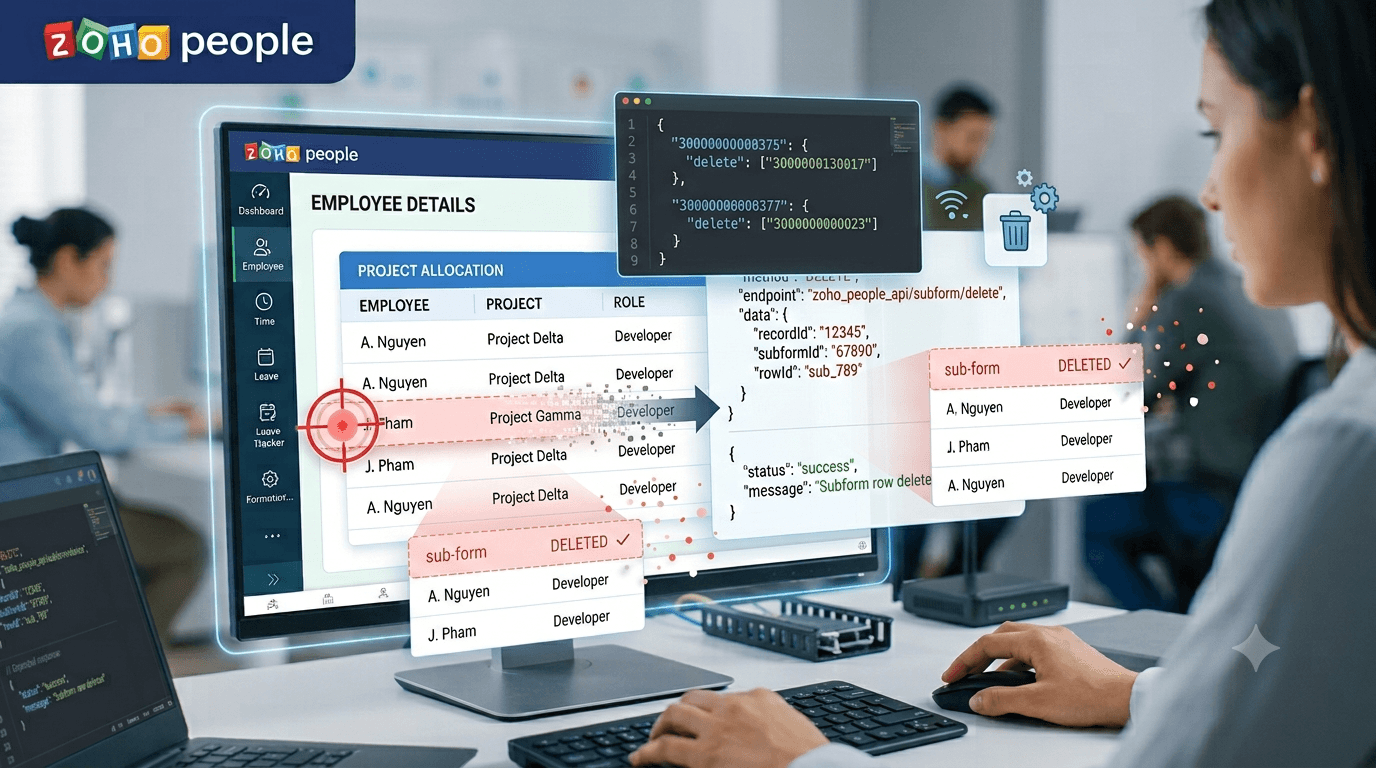
Introduction
In Zoho People, a form is made of linear sections (single-value fields such as First Name or Department) and tabular sections, also called subforms, that hold several rows per record: Work Experience, Education, Dependent Details and so on.
Editing a tabular section through the API is not as simple as editing a normal field. Every row has its own row ID, and every tabular section has its own section ID. To delete a row you need three identifiers:
- the formLinkName of the form,
- the sectionId of the tabular section,
- the row ID (or IDs) you want to remove, together with the recordId they belong to.
In this guide we collect those identifiers step by step and then call the updateRecord API with a tabularData payload to delete rows. Examples are given in curl and in Deluge.
Prerequisites
- A Zoho People account with permission to edit the form in question (an admin or a role that can update employee records).
- An OAuth access token, or a Connection if you are writing Deluge inside Zoho People / Zoho Flow / Zoho Creator. The token needs the
ZOHOPEOPLE.forms.ALLscope (or at leastZOHOPEOPLE.forms.READandZOHOPEOPLE.forms.UPDATE). - The record you want to edit. This guide uses the Employee form as the example.
A note on authentication. Older Zoho People documentation, including the internal document this guide is based on, passes an authtoken query parameter, for example ?authtoken=7d9587899893g4j094dd0b167da34b. Auth tokens are deprecated. Use the same endpoints, but send an OAuth token in the header instead:
Authorization: Zoho-oauthtoken 1000.xxxxxxxx.yyyyyyyyIf your organisation is on another data centre, replace people.zoho.com with people.zoho.eu, people.zoho.in, and so on.
Step 1 — Finding the formLinkName
Every API call is scoped to a form, identified by its formLinkName. Get the list of forms with the Fetch Forms API:
curl -X GET "https://people.zoho.com/people/api/forms" \
-H "Authorization: Zoho-oauthtoken 1000.xxxxxxxx.yyyyyyyy"{
"response": {
"result": [
{ "formLinkName": "employee", "displayName": "Employee", "componentId": "3000000000041" },
{ "formLinkName": "department", "displayName": "Department", "componentId": "3000000000051" },
{ "formLinkName": "leave", "displayName": "Leave", "componentId": "3000000000061" }
],
"message": "Data fetched successfully",
"status": 0
}
}Note the formLinkName of the form that contains your tabular section. For the rest of this guide it is employee.
Step 2 — Getting the sectionId of the Tabular Section
The components API lists every section and field of a form. This is where the sectionId of each tabular section lives. Always pass version=2; without it the API defaults to version 1, which returns far less detail.
curl -X GET "https://people.zoho.com/people/api/forms/employee/components?version=2" \
  -H "Authorization: Zoho-oauthtoken 1000.xxxxxxxx.yyyyyyyy"
The response is a list of sections. Linear sections look like ordinary field groups; tabular sections carry an isTabular flag, their own sectionId and the fields (columns) of the subform:
{
  "response": {
    "result": [
      {
        "sectionName": "Basic Information",
        "sectionId": "3000000000371",
        "isTabular": false,
        "fields": [
          { "labelName": "EmployeeID", "displayName": "Employee ID", "type": "Text" },
          { "labelName": "FirstName",  "displayName": "First Name",  "type": "Text" }
        ]
      },
      {
        "sectionName": "Work Experience",
        "sectionId": "3000000000375",
        "isTabular": true,
        "fields": [
          { "labelName": "Employer",         "displayName": "Company Name", "type": "Text" },
          { "labelName": "Jobtitle",         "displayName": "Job Title",    "type": "Text" },
          { "labelName": "FromDate",         "displayName": "From Date",    "type": "Date" },
          { "labelName": "Todate",           "displayName": "To Date",      "type": "Date" },
          { "labelName": "Previous_JobDesc", "displayName": "Job Description", "type": "Textarea" }
        ]
      },
      {
        "sectionName": "Education",
        "sectionId": "3000000000377",
        "isTabular": true,
        "fields": [
          { "labelName": "College", "displayName": "Institute Name", "type": "Text" },
          { "labelName": "Degree",  "displayName": "Degree",         "type": "Text" }
        ]
      }
    ],
    "message": "Data fetched successfully",
    "status": 0
  }
}
Write down the sectionId of the section you want to edit. In this example:
| Tabular section | sectionId |
|---|---|
| Work Experience | 3000000000375 |
| Education | 3000000000377 |
Two things to keep in mind:
- The
sectionIdis specific to each form in each organisation. Never hard-code an ID copied from documentation; always read it from the components API of your own account. - The
labelNamevalues are the keys you will use later when adding or updating rows. They are not the same as the display names you see in the UI.
Step 3 — Getting the Row IDs of a Record
Each row inside a tabular section has a unique row ID. To find them, fetch the record with getRecordByID, passing the recordId of the employee (the Zoho People record ID, not the Employee ID field):
curl -X GET "https://people.zoho.com/people/api/forms/employee/getRecordByID?recordId=3000000130001" \
  -H "Authorization: Zoho-oauthtoken 1000.xxxxxxxx.yyyyyyyy"
The response contains the linear fields plus a tabularSections object keyed by section name. Every row carries its tabularRowId:
{
  "response": {
    "result": {
      "EmployeeID": "EMP001",
      "FirstName": "John",
      "LastName": "Doe",
      "tabularSections": {
        "Work Experience": [
          {
            "tabularRowId": "3000000130015",
            "Employer": "ABC",
            "Jobtitle": "Developer",
            "FromDate": "02-Sep-2018",
            "Todate": "03-Sep-2019"
          },
          {
            "tabularRowId": "3000000130017",
            "Employer": "XYZ",
            "Jobtitle": "Senior Developer",
            "FromDate": "01-Oct-2019",
            "Todate": "31-Dec-2023"
          }
        ],
        "Education": [
          {
            "tabularRowId": "3000000000023",
            "College": "MVS",
            "Degree": "PG"
          }
        ]
      }
    },
    "status": 0
  }
}
Pick the tabularRowId values of the rows you want to remove. In this example we will delete the Work Experience row 3000000130017 and the Education row 3000000000023.
If you do not know the recordId, you can find it with the getRecords API on the same form, or search by Employee ID using getRecordByID's sibling endpoint getRecords with searchParams. The recordId is also visible in the URL when you open the employee's profile in the Zoho People UI.
Step 4 — Deleting Rows with updateRecord
Now you have all three identifiers. The updateRecord API takes:
| Parameter | Meaning |
|---|---|
recordId | The record being edited |
inputData | JSON object of linear fields to update. Can be omitted or {} if you only touch tabular data |
tabularData | JSON object describing rows to add, update or delete, keyed by sectionId |
The tabularData format is:
{
  "<sectionId>": {
    "add":    [ { "labelName": "value", "...": "..." } ],
    "update": { "<rowId>": { "labelName": "new value" } },
    "delete": [ "<rowId>", "<rowId>" ]
  }
}addis a JSON array of objects, one per new row.updateis a JSON object whose keys are row IDs.deleteis a JSON array of row IDs.
You can mix several sections and several operations in one call. To only delete rows, send just the delete arrays:
{
  "3000000000375": {
    "delete": ["3000000130017"]
  },
  "3000000000377": {
    "delete": ["3000000000023"]
  }
}
The endpoint is a POST to /people/api/forms/json/<formLinkName>/updateRecord. Note the extra json path segment that the record-update endpoint uses. With curl, pass the parameters as form data so the JSON is URL-encoded correctly:
curl -X POST "https://people.zoho.com/people/api/forms/json/employee/updateRecord" \
  -H "Authorization: Zoho-oauthtoken 1000.xxxxxxxx.yyyyyyyy" \
  --data-urlencode "recordId=3000000130001" \
  --data-urlencode 'inputData={}' \
  --data-urlencode 'tabularData={"3000000000375":{"delete":["3000000130017"]},"3000000000377":{"delete":["3000000000023"]}}'
A successful call returns:
{
  "response": {
    "result": {
      "pkId": "3000000130001",
      "message": "Success"
    },
    "message": "Data updated successfully",
    "status": 0
  }
}
If you need to update a linear field at the same time, put it in inputData:
--data-urlencode 'inputData={"FirstName":"John"}'Step 5 — Verifying the Deletion
Call getRecordByID again and confirm the rows are gone:
curl -X GET "https://people.zoho.com/people/api/forms/employee/getRecordByID?recordId=3000000130001" \
  -H "Authorization: Zoho-oauthtoken 1000.xxxxxxxx.yyyyyyyy"
The Work Experience array should now contain only row 3000000130015, and Education should be empty. There is no undo for a deleted row, so it is worth doing this check in a test record first.
Doing It in Deluge
If the deletion runs from a Zoho People custom function, a Zoho Flow custom function or Zoho Creator, use invokeUrl with a Connection instead of handling tokens yourself. The example below deletes every Work Experience row whose Employer equals a given value, which is a typical clean-up task:
recordId = "3000000130001";
sectionId = "3000000000375";     // Work Experience, from the components API
employerToRemove = "XYZ";

// 1. Read the record and collect the matching row IDs
recordResp = invokeUrl
[
    url : "https://people.zoho.com/people/api/forms/employee/getRecordByID?recordId=" + recordId
    type : GET
    connection : "zoho_people_connection"
];

rows = recordResp.get("response").get("result").get("tabularSections").get("Work Experience");
rowIdsToDelete = List();
if (rows != null)
{
    for each row in rows
    {
        if (row.get("Employer") == employerToRemove)
        {
            rowIdsToDelete.add(row.get("tabularRowId"));
        }
    }
}

if (rowIdsToDelete.size() == 0)
{
    info "Nothing to delete.";
    return;
}

// 2. Build tabularData and call updateRecord
sectionData = Map();
sectionData.put("delete", rowIdsToDelete);
tabularData = Map();
tabularData.put(sectionId, sectionData);

params = Map();
params.put("recordId", recordId);
params.put("inputData", "{}");
params.put("tabularData", tabularData.toString());

updateResp = invokeUrl
[
    url : "https://people.zoho.com/people/api/forms/json/employee/updateRecord"
    type : POST
    parameters : params
    connection : "zoho_people_connection"
];

info updateResp;
Deluge's Map.toString() produces valid JSON, and passing the map through parameters lets invokeUrl URL-encode it for you.
Common Mistakes
- Wrong sectionId. The IDs in this guide (and in Zoho's own examples, such as
3000000000375) are placeholders. Read them from/components?version=2on your account. - Using a row ID from another record. Row IDs are unique across the organisation. If the row does not belong to
recordId, the API returns an error or silently ignores it. - Forgetting
jsonin the path.getRecordByIDandcomponentslive under/api/forms/<formLinkName>/, butupdateRecordlives under/api/forms/json/<formLinkName>/. - Malformed JSON.
deletemust be an array of strings. A common typo in older documents is an extra], which makes the wholetabularDatainvalid. Validate the JSON before sending it. - Date formats when adding rows. If you combine
deletewithadd, dates must follow the organisation's date format setting (for exampledd-MMM-yyyy), otherwise the add part fails and the delete part may be rolled back. - Rate limits. Zoho People caps API calls per day and per minute depending on your plan. When cleaning many records, batch the row IDs of one record into a single
updateRecordcall rather than calling once per row.
Conclusion
Deleting rows from a Zoho People tabular section takes three lookups and one update: the formLinkName from the Fetch Forms API, the sectionId from the components API (with version=2), the row IDs from getRecordByID, and finally a POST to updateRecord with a tabularData payload containing a delete array. The same payload format also lets you add and update rows, so once this flow is in place you can automate the whole lifecycle of subform data, whether from curl, a script or a Deluge function.